Monday, November 27, 2017

Sanding and Getting ready for Topside Fiberglassing

Over the pasts couple weeks, I have been cleaning up the edges on the seat back and roofing decks.
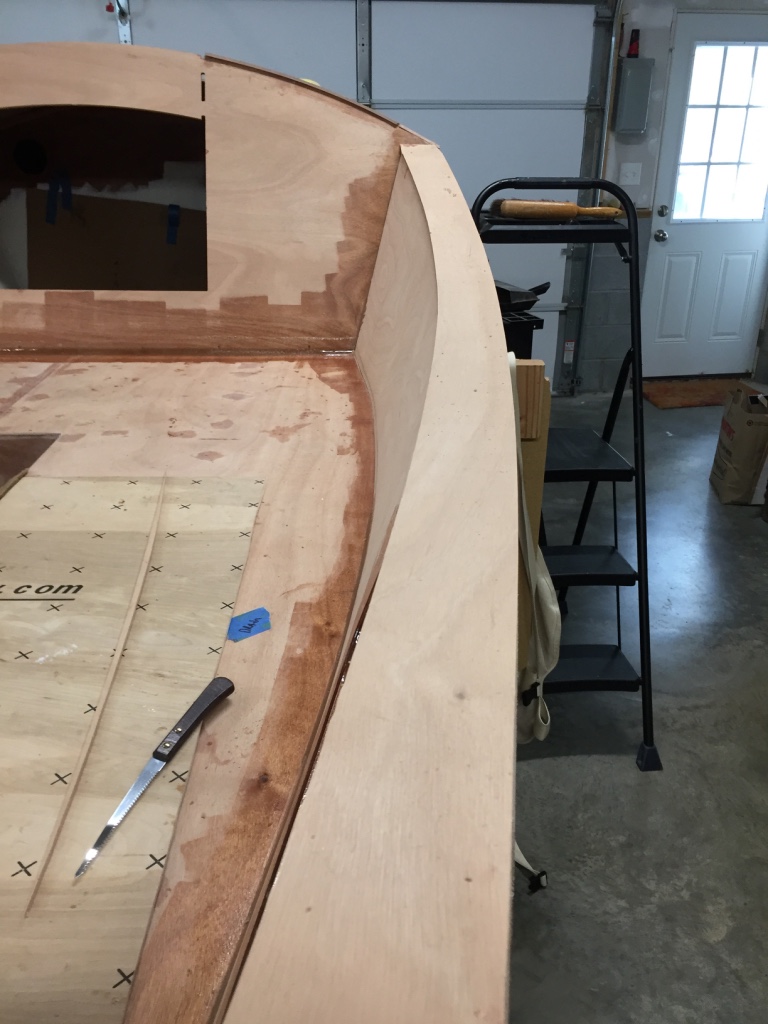
I used a router to cut off some of the edges, but was not happy with it. As you know you can make quick mistakes with power tools, so I started to use my hand tools. I did make one mistake, but I was able to stop before it did too much damage. I may need to build it up a little with some fairing compound I bought.  Using hand tools is slower and I spent a few more hours here and there working on things, but you have all the control.

My tools of preference were the Japanese saw, rasp, block plane and orbital sander.  You still need to be careful, but you won't do too much damage. Below is picture of me cutting off the extra edges.


For the most part, I have a rough edge all the way around the seatback decks and the roof decks. After using the saw, rasp and plane, I used the orbital sander with 60 grit. I plan on using a hand sanding block with 120 for the final touch ups and rounding over the edges. 

Below are some pictures. 

Notice I cut out the support, so I can actually walk into the cabin. I will have to admit. I sat in there and drank a beer admiring the boat. Actually it was more like noticing more things I need to touch up! :-) 


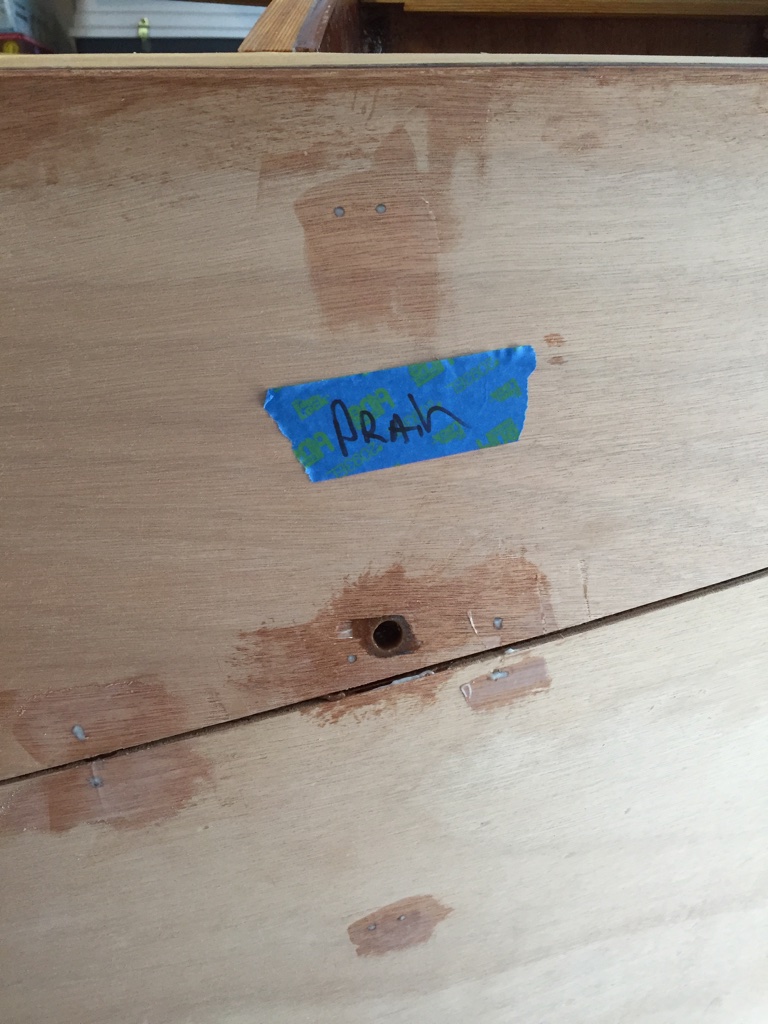
I also did the fillets in the deck area. I think I have them down now somewhat.  Too bad, I am almost finished with fillets though! Maybe on the next boat! 

You can see where I painted the lockers before installing the setbacks.


Next up is to finish all the sanding this week in preparation for laying out fiberglass. It is starting to get cold, so I hope I can get this done. I can keep the garage at about 60 degrees, so I should be ok for another month until January when it gets really cold.

I also need to do the trim on the transom. I didn't think I had the lumber, but I found it last night.

Monday, November 13, 2017

Roof Trimming and Seat Back Decks


I removed the screws that were temporarily holding the roof deck down while it cured. I then took my router with a flush cut bit and started to trim off the the excess. A word of caution is that you can't rely on the ball bearing to guide 100%  where it is cutting. The whole roof is attached at angles, so you have to keep an eye out on where you are cutting! The ball bearing is for flat surfaces. I accidentally took a little too much off of one of the dorade boxes. I will have to take a close look at it, but I think I may need to build it up with some faring compound before I start to lay fiberglass. I also may need to buy a grinder to make the edges of the roof deck flush. I have yet to attempt to use a sander to see how that works on sanding the edges.

Below are few pictures of the decking on and first cut at trimming. Still lots of work do be done.


I also managed to get the seat back decking on as well and trimmed with the router. I still need to do the fine sanding to clean everything up.  I used stainless steal nails with my nail gone and that worked very well.


I used the weights to hold down the decking in areas that I didn't want to use the nail gun. The 3/4 " nails would poke through a little and I didn't want them sticking me in the locker. In the other areas the board didn't want to sit down 100%, so the extra weight held things down properly.


Below are pictures of the finished product and after trimming with a router. I still need to sand the edges up.


Monday, November 6, 2017

The Roof is On!!

Well my plans didn't go 100%, but I was able to get the roof on this weekend. I planned to do the seatback tops as well, but when I put the roof on I couldn't get the boards underneath. Not a big deal. I will try and do one night after work this week.

Putting the roof on was a pretty big task and I did it solo. I mixed up a Large batch of thickened epoxy and laid it out using a pastry bag. I then took a brush and spread it out evenly. I then climbed inside the boat and had the roof laying in the cockpit area. I was able to lift it up and laid it down almost perfectly. I used a couple of spring clamps to hold it in place and then drilled and screwed in some screws (with small blocks) to hold it down. Having pre-staged all the needed tools, things went pretty well. Meaning, I didn't have to climb in and out of the boat. It took me a while to hold down the top, drill and then screw things down. I worked up a good little sweat and it was only in the 60's. I could have used some help to hold it down while screwing.

Below are pictures of the completed roof.


I will let the epoxy cure for a few days before removing the screws. I will then use a router and bit to cut off the edges flush. I will have to say it was a nice moment to be able to sit inside and see what the cabin will feel like!!! :-)

This post is a little out of order. Prior to doing the roof, I had to finish up some things. First was to sand the underside of the roof where I had applied multiple coats of epoxy.  I moved outside the previous weekend and sanded things.


One thing you don't want to forget is to drill the drain holes for the dorade boxes. You could do these afterwards, but you can definitely see and access things better. I used the drill-fill-drill again approach on the outside dorade box drains. On the inside dorade drains, I decided to drill a small pilot hole and then used my Dremel tool to expand it to the size I wanted. I then put a couple of coats of epoxy in there to cover any exposed wood. I will probably do more of that when I start the fiberglassing.

Below are a couple pictures.
Used drill-fill-drill method here.

Used a Dremel tool to expand a pilot hole drilled first. 


Next up will be to trim the edges of the roof and finish up the seat back top and fillets in that area.