Putting the roof on was a pretty big task and I did it solo. I mixed up a Large batch of thickened epoxy and laid it out using a pastry bag. I then took a brush and spread it out evenly. I then climbed inside the boat and had the roof laying in the cockpit area. I was able to lift it up and laid it down almost perfectly. I used a couple of spring clamps to hold it in place and then drilled and screwed in some screws (with small blocks) to hold it down. Having pre-staged all the needed tools, things went pretty well. Meaning, I didn't have to climb in and out of the boat. It took me a while to hold down the top, drill and then screw things down. I worked up a good little sweat and it was only in the 60's. I could have used some help to hold it down while screwing.
Below are pictures of the completed roof.


I will let the epoxy cure for a few days before removing the screws. I will then use a router and bit to cut off the edges flush. I will have to say it was a nice moment to be able to sit inside and see what the cabin will feel like!!! :-)
This post is a little out of order. Prior to doing the roof, I had to finish up some things. First was to sand the underside of the roof where I had applied multiple coats of epoxy. I moved outside the previous weekend and sanded things.

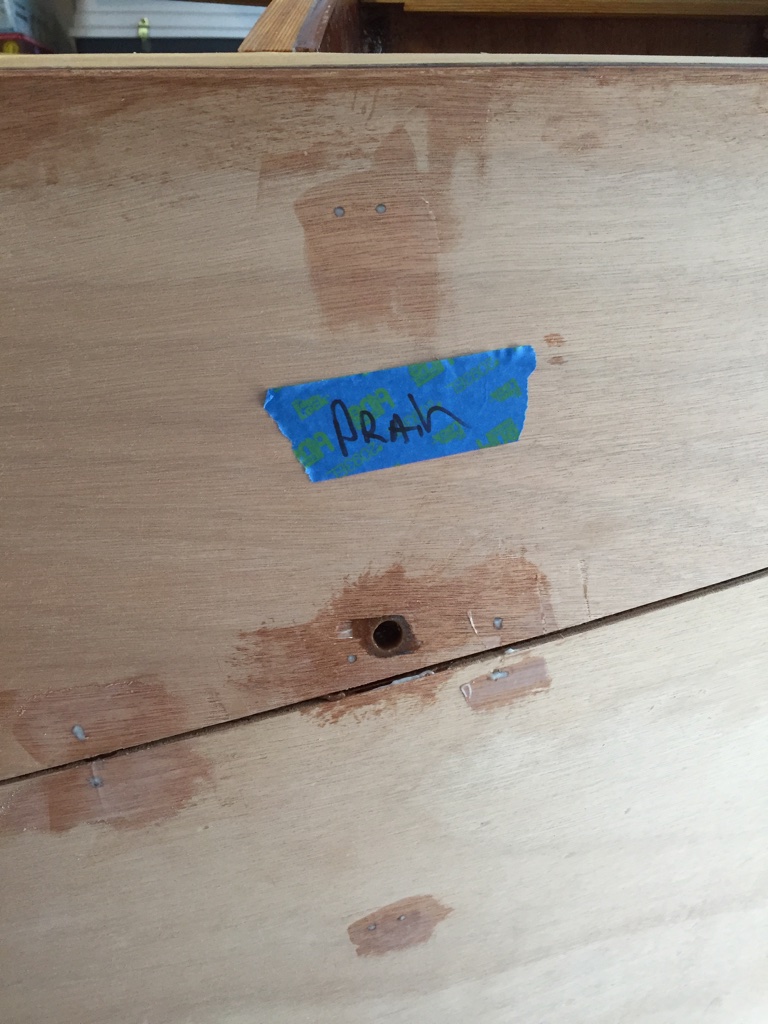
One thing you don't want to forget is to drill the drain holes for the dorade boxes. You could do these afterwards, but you can definitely see and access things better. I used the drill-fill-drill again approach on the outside dorade box drains. On the inside dorade drains, I decided to drill a small pilot hole and then used my Dremel tool to expand it to the size I wanted. I then put a couple of coats of epoxy in there to cover any exposed wood. I will probably do more of that when I start the fiberglassing.
Below are a couple pictures.
 |
| Used drill-fill-drill method here. |
 |
| Used a Dremel tool to expand a pilot hole drilled first. |

Next up will be to trim the edges of the roof and finish up the seat back top and fillets in that area.
Big step here! Keep at it. Little bit of progress each day and all of a sudden it’s finished!
ReplyDeleteYou’re doing a great job!
Jeff