I continued to work on the inside cleats this week and I am about 80% complete. The tasks are a good exercise in geometry. I have been taking it slow, so I make sure I have the right angles and lengths. It has been a lot of fun. Below are multiple pictures of what I completed a few days this past week.
The cleats on the rear transom need to be cut out, so you can add another cleat that goes from stern to bow. I cut out a portion of the cleat before hand, so I could epoxy one piece of wood and keep everything straight and level. I cut each side and then used a chisel to cut out the piece. Once this cures, I will completely cut out the section and add another cleat that fits in the space. You can see the notch below.
 |
| Close-up of the real horizontal cleat on the transom. |
Below are the cleats that fit on the center board trunk. They need to be notched out in a curve as they fit up to the bulkhead 7 fillet as well as have a round-over on the side that will point down towards the floor boards.
I cut the cleats on bulkhead 8 and epoxied them into place below. Again any edge that faces down to the inside of the cabin/floorboards needs to have a round-over edge. On all these pieces, I used the router table that that I borrowed to do the round-over cuts. As an option, you could use a block plane and sandpaper. I had to do that in a couple instances because I forgot to run them through the router.
 |
| I started to sand between bulkheads 7&8 yesterday. I will still need to go back over before I apply a coat of paint primer. Above the cleats are epoxied and screwed to the transom. |
 |
| Another view of the sanding. |
 |
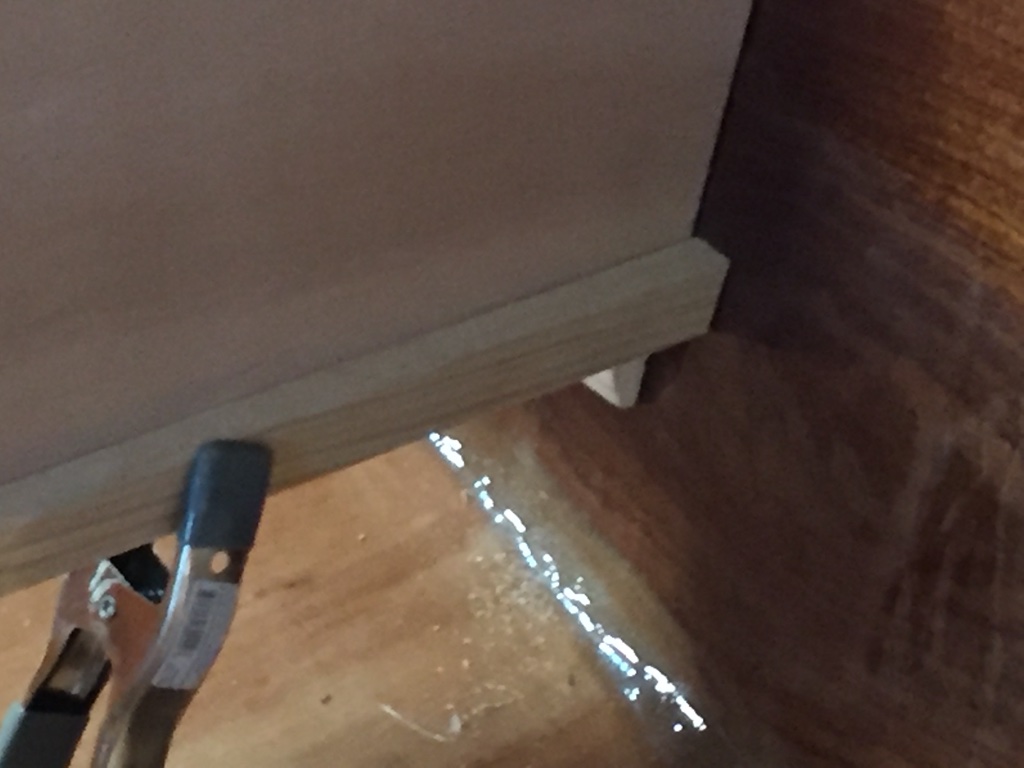
| Another view of bulkhead 8 cleats epoxied in place and clamped. |
 |
| Vertical cleats on bulkhead 8 epoxied and clamped in place. |
 |
| Bulkhead 7 horizontal cleat in footwell section epoxied and clamped in place. |
 |
| Vertical cleats epoxied and clamped in place. |
 |
| Additional cleats on the footwell sides epoxied and clamped. |
I did a lot of dry fitting before I would apply thickened epoxy with cabosil. I wanted to make sure I was getting everything straight. I would recommend you take your time on these, because it would probably be a lot of work to try and remove a cleat glued in the wrong place. My wife came out yesterday and asked what I was doing. I was just standing there looking at the boat. I commented that I was thinking!! :) Just making sure I had everything right!