Wednesday, April 19, 2017

1 Year has passed and assorted task!


1 Year and Counting
Well this month marks one year I have been working on the boat! So far it has been a great experience and yes I am still enjoying it! During the winter was some what demotivating. It was hard to figure out tasks and I was delayed some with the interior painting due to the temperature. Now that it is getting warmer, I will be able to pick up speed.

The website says estimated 600 hours. If I didn't have to work full time and had a large shop, that may be possible.  I went into this estimating 2 years to build. It may be longer, but like I said I am still having fun.


Assorted Tasks

Now that I have the floor boards completed minus a few screws, I am moving on to doing other things.

Below is a picture of the electrical conduit I ran. I picked it up at the hardware store and will be running electrical cable through it. I am mainly putting it there to protect the electrical wires since they would be open to damage in the bilge area.


Another shot. The conduit goes up to the bow area where the battery will be located.


Here is where I cut it off and will attach it under the cable conduit tray I built it is a little hard to see in the picture. In the stern of the boat, I have a hole in the floor for the cable to go through. I still need to figure out how to get it back in the far stern area, since it is supposed to be water tight.


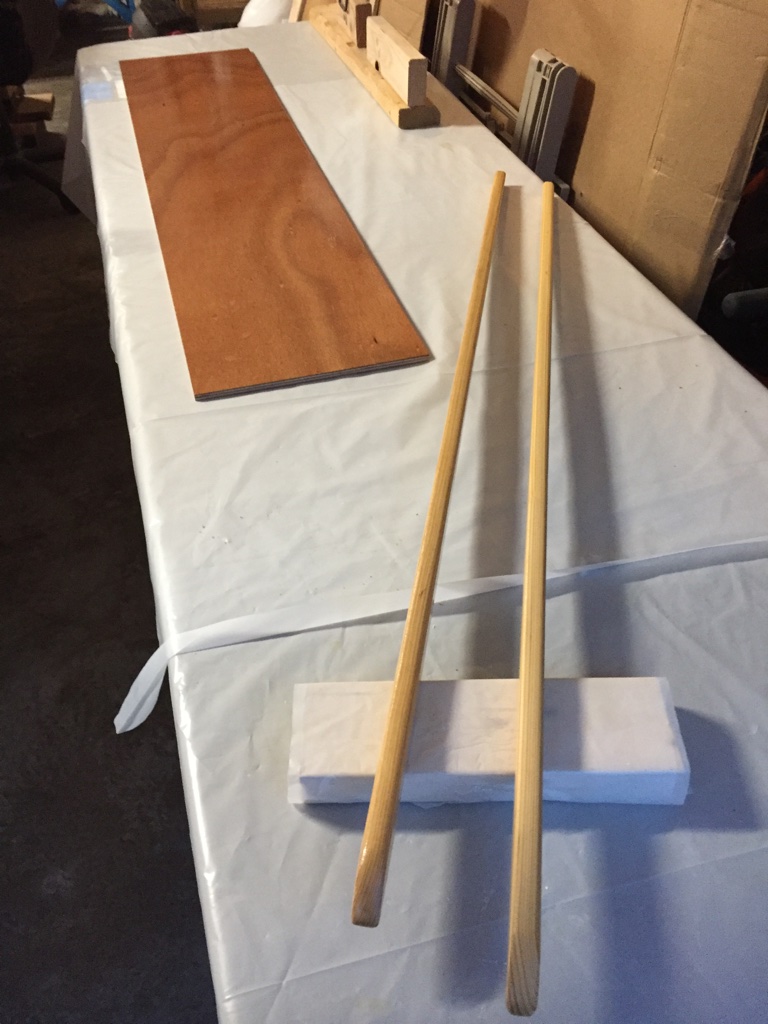
Below is the cockpit decking. I had to trim it a little, but for the most part it fit pretty well. I marked underneath where the stringer supports will be so that I can install temporary screws when I epoxy the cockpit decking down. I plan on coating underneath with a layer of fiberglass for strength. They may be stronger later when things are all together, but they seem pretty flimsy at this point.


Below is where I put a second coat of epoxy on the footwell sole. It is on the bottom. I plan to do another coat as well as coat the 2 stringers. They are the longer stringers that go from bulkhead 7 forward to help support the decking. I will epoxy them in place when I have a few coats on them and prior to installing the decking.


Wednesday, April 12, 2017

Floor Boards Completed!

Out of town again on a trip, so didn't have anytime to work on the boat this past weekend. All the floorboards have 2 coats of Danish Oil on both sides and I installed them back in the boat last night. I still need a few screws and I just ordered them. In a few places you have very little floor supports to drill/screw the boards down. I am ordering #8 3/4 inch screws to use in a few areas along of the edges. I have some 3/4 screws but they use a straight screwdriver. The ones that came with the kit are frearsons bit and look like a philips head. I want everything to be the same. No one would notice, but I will! :-)

I also ordered some 14 gauge marine wire. I want to at least run wire for a running light/stern light and would like to get the wire installed before I cover up so much. I will post some pictures later on after I figure everything out.

Below are pictures of the floors installed. I now get to cover them up to protect them and move on to the next steps in the manual. I think they look very good. I do have a couple of the boards that have warped. They are not too noticeable, but I will figure something out.


The plans call for the cutouts to be from Floor 4 to Floor 6. I decided to extend them from Floor 4 to Bulkhead 7. This will give me more access to the bilge. I am still thinking about putting a bilge pump in as a means to get water out. Not really concerned, but I could leave the hatch open and it rain inside and I also read about another builder spilling water. 


Monday, April 3, 2017

Floorboards almost done!

I think I worked about every night this past week, putting coats of Danish oil on the floor boards. I moved out into my shed, so the fumes would not be bad and I was getting complaints from my wife. I started off using a brush to apply the Danish Oil, but switched to a rag. The rag works a lot better to cover the wood and you don't get any splashes! I would let them dry over night and then used some steel wool to lightly sand. I think they turned out good. I didn't use as much Danish oil, so I will have a lot left over. I purchased a gallon, but could probably done with 1/2. I got it on sale, so oh well.

The manual is right that the finishing of the floor boards is a project in it's self. Below are pictures of the boards drying after multiple sessions. I used some 2X4s covered in plastic. They work pretty good especially when working with epoxy. If you are not careful, you can easily epoxy 2 pieces of wood together. I would coat one side per night and then come back and do the other side until I had 2 coats on each.


Below are the 2 outer most pieces. If you recall, this is where I epoxied two smaller pieces together to make a large one. The outer most piece didn't have any floor supports to screw down to. Since I purchased the timber package, I had two smaller pieces that I epoxied together. You can see the screws on the out edge that I used to hold them together.


I have one more coat to put on these smaller pieces below then I will be able to screw them all down. 
I also need to figure out my electrical path. In the stern, there are no holes drilled yet on the boards and I need to figure out the path for a stern running light and some convenience receptacles.  Not sure if I am coming under the floors or overhead through the seat backs.